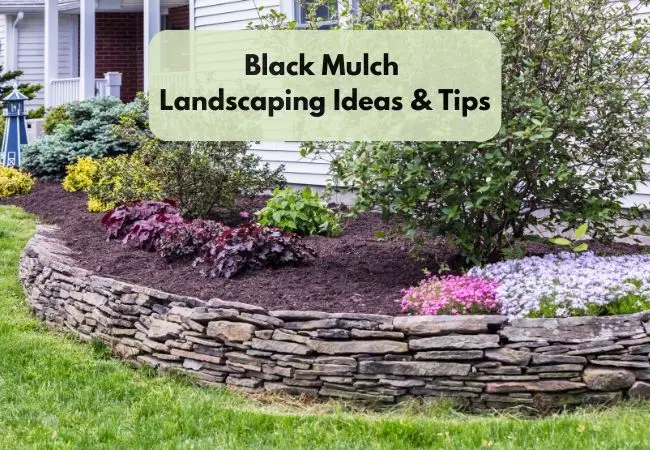
How to Use Mulch Glue to Keep Pea Gravel in Place
This is how to use mulch glue to keep pea gravel in place for that visually appealing look while still allowing water to seep through. Pea gravel is a popular choice for pathways, driveways, and landscaping projects due to its natural and aesthetically pleasing appearance.
How to Use Mulch Glue to Keep Pea Gravel in Place
One common challenge I have found with pea gravel is its tendency to shift and scatter over time, requiring constant maintenance. I had this problem near my pool and had to find a solution. Fortunately, there is a solution: mulch glue.
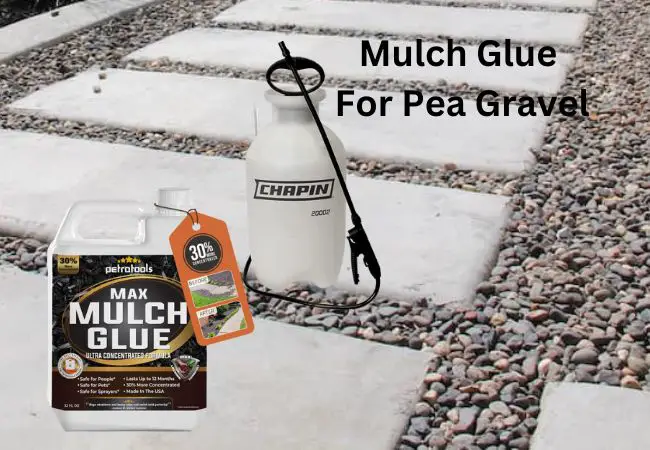
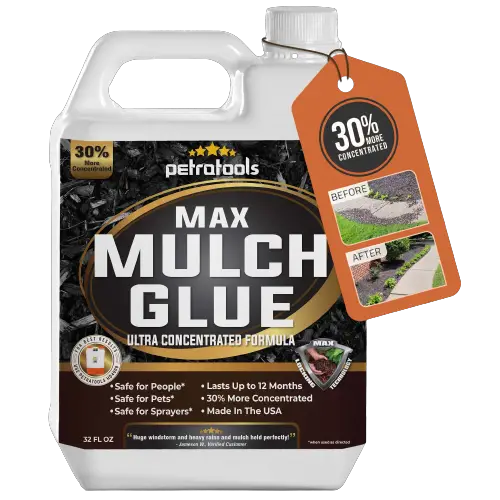
Mulch glue, also known as gravel adhesive or gravel lock, is a product specifically designed to secure loose gravel in place, providing stability and reducing the need for frequent reapplication.
In this post, I will explore how to effectively use mulch glue to keep pea gravel in place, ensuring a long-lasting and visually appealing landscape. I love using pea gravel in some of the areas I have done some edging.
Understanding Mulch Glue
Mulch glue is a specially formulated adhesive designed to bond loose aggregates, such as pea gravel, together, creating a solid and stable surface.
It is typically composed of a water-based resin that dries clear and remains flexible to accommodate natural movement.
The benefits of using mulch glue include enhanced stability, reduced gravel displacement, and improved durability against foot traffic and weather elements.
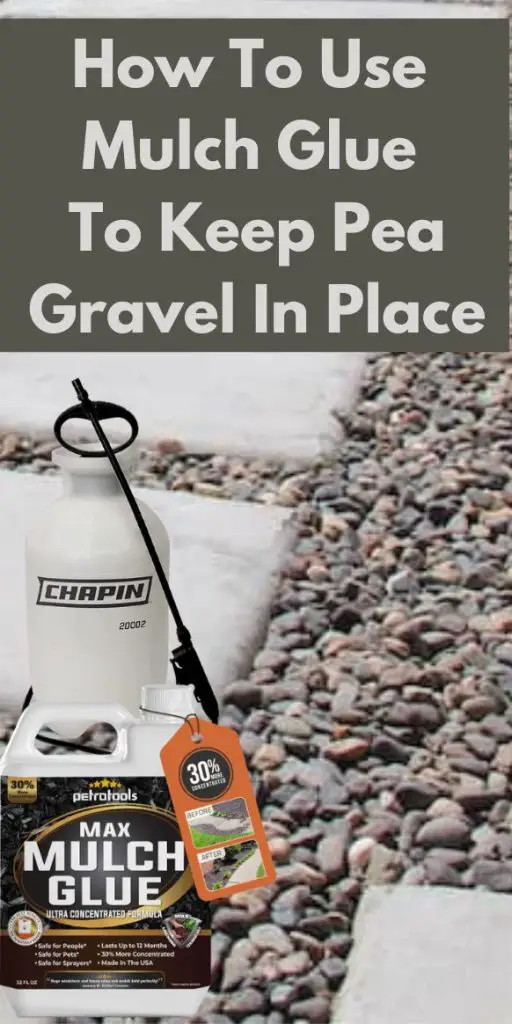
Different types of mulch glue are available in the market, so it’s essential to choose one that suits your specific needs and the environment in which it will be used. This is the mulch glue I use from Amazon.
Preparing the Area
This is how to use mulch glue to keep pea gravel in place. Before applying mulch glue, it’s crucial to prepare the area properly. Start by clearing the pea gravel surface of any debris, leaves, or weeds.
A clean surface will allow for better adhesion. Additionally, address any underlying issues, such as unevenness or poor drainage, to ensure a stable and long-lasting result.
If necessary, make any necessary repairs or improvements before proceeding.
Applying Mulch Glue
Timing and weather conditions are important when applying mulch glue. Choose a day with dry weather and moderate temperatures to allow the adhesive to cure effectively.
Read and follow the manufacturer’s instructions for mixing the mulch glue, as the ratios may vary depending on the product. Use a suitable mixing container and stir the glue thoroughly to achieve a consistent blend.
Once mixed, apply the glue evenly over the pea gravel surface. Depending on the size of the area, a brush, roller, or sprayer can be used as an applicator. I prefer using a sprayer, not only is it fast but also ensures even application. This is the sprayer I use from Amazon.

Ensure the glue covers the entire surface but avoid excessive application to prevent a thick and uneven layer.
Securing Pea Gravel in Place
After applying the mulch glue, it’s time to secure the pea gravel in place. Spread the gravel evenly over the treated area, using a rake or shovel. Take care to distribute the gravel uniformly and avoid clumps or uneven sections.
Once spread, use a rake or leveling tool to smooth and even out the surface. If necessary, apply additional mulch glue over the gravel to ensure optimal adhesion and stability.
This step will provide an extra layer of protection against displacement and maintain the desired appearance.
This step is also necessary if you have a thick layer of pea gravel and the top layer will remain loose if you don’t apply the mulch glue to it.
Curing and Maintenance
After the application of mulch glue, allow sufficient time for the adhesive to cure as per the manufacturer’s instructions. Curing times may vary depending on the specific product, but it typically ranges from a few hours to a day.
During this curing period, it’s important to restrict foot traffic and avoid any activity that may disrupt the adhesive bond. Once fully cured, inspect the area regularly for signs of damage or displacement.
Should any areas require touch-ups, reapply mulch glue as needed to maintain the stability and integrity of the pea gravel surface. Additionally, ensure proper drainage to prevent water pooling and potential damage to the adhesive bond.
Safety Precautions For Mulch Glue
When using mulch glue, it’s important to prioritize safety. Wear appropriate protective gear, such as gloves and eye protection, to safeguard against potential skin irritation or accidental splashes.
Follow the manufacturer’s safety instructions and guidelines when handling and storing mulch glue. Keep the product out of reach of children and pets, as it may be harmful if ingested.
During the application process, it’s advisable to keep children and pets away from the treated area to avoid any accidental contact with the adhesive.
Final Thoughts on Using Mulch Glue
Mulch glue is an effective solution for keeping pea gravel in place and maintaining a stable and visually appealing landscape.
By following the proper steps, including preparing the area, applying the glue evenly, securing the pea gravel, and allowing for sufficient curing time, you can enjoy the benefits of a durable and long-lasting gravel surface.
Regular maintenance, including inspections and reapplication of mulch glue as needed, will ensure the continued stability and aesthetic appeal of your pea gravel installation.
With the use of mulch glue, you can bid farewell to the frustrations of shifting gravel and enjoy a beautiful and well-maintained outdoor space.
I hope this post on how to use mulch glue to keep pea gravel in place was helpful. If you love gardening content please follow me on Multigardening Pinterest for more gardening posts.